System Access
After successful deployment, the web application can be accessed using the following URL: http://<machine_name>:8080/navigator/
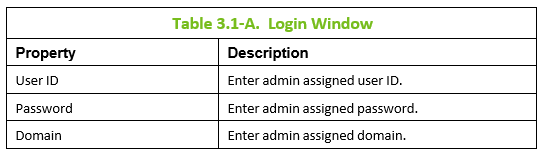
Nastel Navigator uses workgroup server authentication when logging into the application. The login/password pair must be defined with appropriate group permissions.
Enter your assigned User ID and Password, then click LOGIN to enter the Nastel Navigator application.
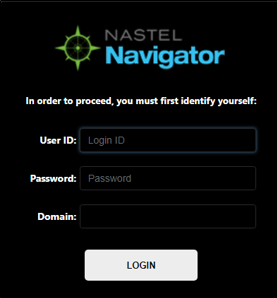
*Figure 3.1-A. Nastel Navigator Login
Connecting to the AutoPilot M6 for Middleware Network
If this is the first time you are logging into Nastel Navigator, and your administrator has not configured default connections, you will see the dialog box shown in the figure below. For the workgroup servers you would like to monitor, use information provided by your administrator to set up connections. See the next section, Add New Workgroup Server, for information on adding a workgroup server.
Otherwise, you will be presented with the Workspace dashboard and you can start using Nastel Navigator as described in Chapter 4.
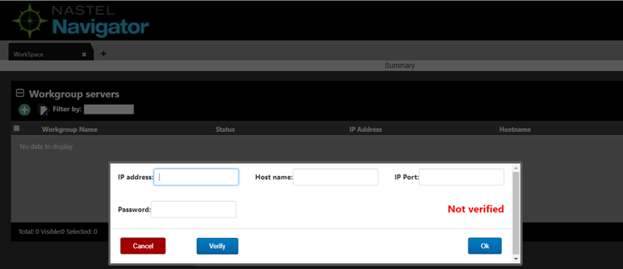
Figure 3.2-A. Connecting to a Workgroup Server
Add New Workgroup Server
1. Click the Add button located at the top of the Workgroup servers viewlet to display the Add new workgroup server dialog box.
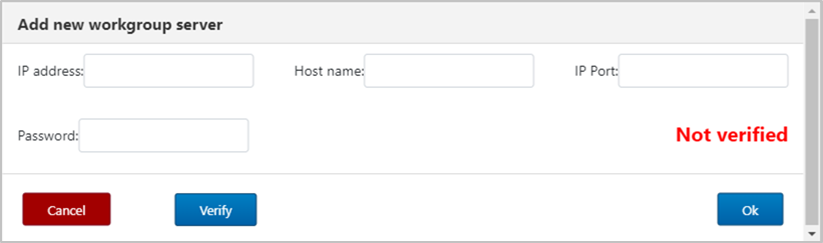
2. Help workgroup server’s (later referred to as WGS) connection information:
- IP address – IP address of the node where the workgroup agent is running. (Required)
- Host name – Host name of the machine where the workgroup agent is running.
- IP Port – Workgroup agent’s IP port number. (Required)
- Password – Enter the workgroup server’s password. (Required)
3. Click Verify. If the information you entered is valid, you will see the message, Verified (in green), which means you can proceed.
4. Click Ok.You are returned to the Workspace viewlet and your newly created connection is listed.